If you’re dipping your toe into social media marketing, you’ve probably heard of Canva. Valued at an eye-watering $15billion, Canva has taken the graphic design and marketing community by storm; allowing marketers around the world to create beautiful graphics without the need of Adobe software like Photoshop and Illustrator. Simply put, Canva has revolutionised the way we create for our ever-growing online world, and has subsequently become a must-have for marketers no matter the size of their company.
The simplicity of Canva has made it easily the most accessible design program on the market at the moment, and boasts great benefits and reduced costs for students and non-profits. Overall, it’s a fantastic piece of kit if you’re looking to up your online presence whilst still maintaining a professional and clean brand image. One question remains however; how do you use it?
Not everyone who runs a business is design or technically-minded (that’s why graphic designers exist!), but Canva is a great introduction to design that allows you to create your own pieces or use pre-made templates. I’ve written a guide introducing some of the main features of Canva you could utilise if you use our app JustSell:
Get Ready to Design!
The first step is to make sure you have professional (or professional-looking!) photos ready to upload to Canva to use in your designs. If you’re unsure how to take professional photos, check out our guide here. Having good photos automatically makes the design process easier, and makes your designs look great! Your businesses photography is one of the first things prospective customers sees when they look at your social media, so this is a very important step.
Next, you need to download Canva from the App Store of Google Play Store, or create an account on your desktop at: www.canva.com.
Canva Premium starts at £10.99 per month and is billable monthly or annually, but there is a free version also. Whilst the free version is good for basic designs, Canva Premium gives you access to thousands of premium images and design elements, so we highly recommend investing in the paid option. Another handy feature of Premium is the re-size feature; allowing you to quickly create the same design for multiple social media platforms automatically. If you’re a student or non-profit, Canva offers it’s Premium service for free so make sure to snag that if you’re eligible!
Once you’ve created your account and/or downloaded the Canva app, log in and get ready to create some designs!
Creating an Instagram Post
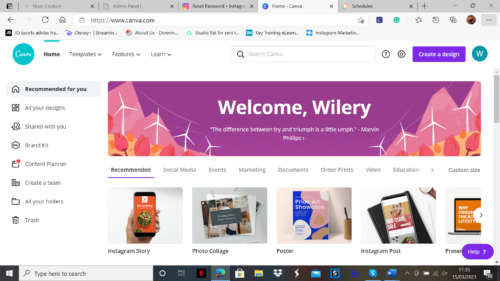
1. Open Canva and click on ‘Create a Design’
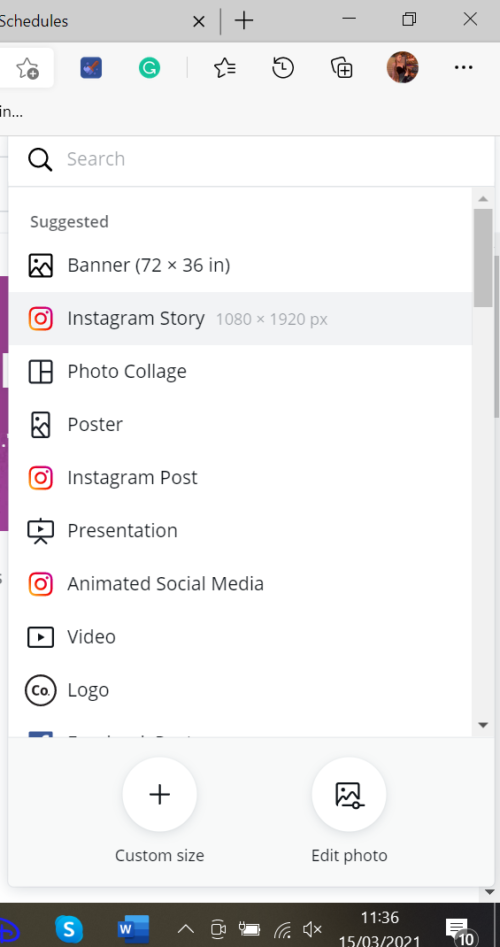
2. Choose the design pre-set “Instagram Post” – by choosing this, Canva creates a blank document that has the correct sizing for Instagram (1080 x 1080px) meaning your full image will be viewable in-app
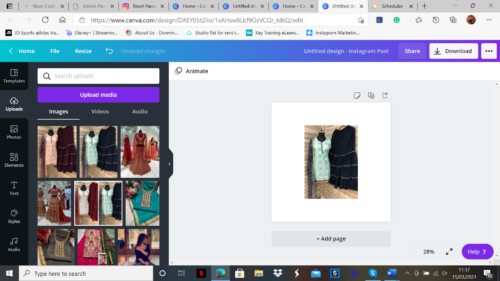
3. Upload the image (or images) you’d like to use in your design, click on it to add it to your blank document, and drag the corners of the image until the borders of the image reach the white background.
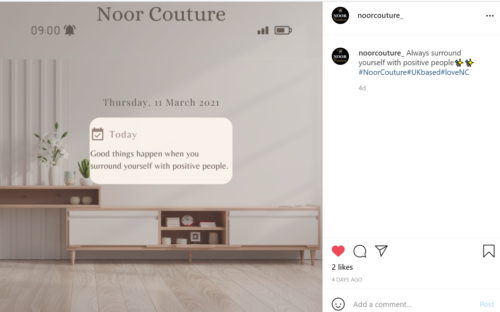
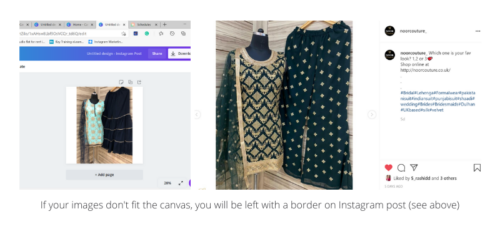
4. Sometimes the image that you have may not be the same size as your canvas – if this is the case, your image will have a white border around it on Instagram (shown below), so double check that this looks OK before posting
Using Templates in your Canva Designs
1) Repeat steps 1 and 2 from ‘Creating an Instagram Post’ (see above)
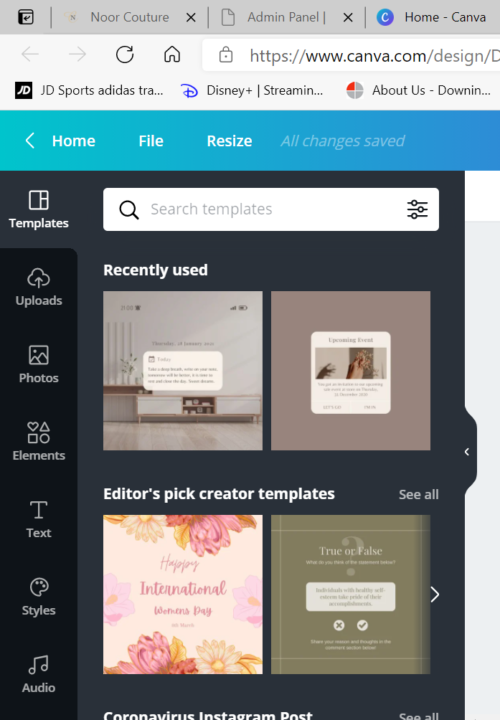
2) Once you’ve created your new blank canvas, click on ‘Templates’ on the left-hand side of the screen and choose a ready-to-use template that suites your design idea and brand image
3) Now that you’ve chosen a template, add your own photos and edit the small details such as dates, times, text etc.

4) When you’ve finished your design, download it as a PNG for the best quality image, and upload on Instagram (see below for an example)